Smart hearing aids from hear.com - world's leading hearing care provider
Insert and remove hearing aids
Modern hearing aids are so small that they are hardly noticeable when placed in or behind the ear, enhancing both their looks and their practicality. In the case of very small models, however, handling sometimes doesn’t seem so easy at first glance. However, with a little practice, inserting the hearing aids in the morning and removing them in the evening will soon become routine.
Learn how to skillfully handle different types of in-the-ear hearing aids (ITE) and behind-the-ear hearing aids (BTE), with ear molds and with an open fitting. Learn simple steps and tricks with which you can insert and remove your hearing aids quickly and easily – and hear well at all times.
Table of Contents
- Inserting the hearing aid
- Distinguishing left and right
- Inserting the “in-the-ear” hearing aid (ITE)
- Hearing aids with earmolds
- Open fitting hearing aids
- Removing the ITE hearing aids
- Removing “behind-the-ear” hearing aids (BTE)
Insert the hearing aid
Before proceeding:
1. Make sure your hands and ears are clean and dry.
2. In order to be able to find the discreet hearing system more easily if it falls down, it is advisable to use a single-coloured pad.
(Attention: Do not use the mini-devices over an open sink or sink drain.)
3. If you have hearing aids in both ears, make sure you have selected the right device for your ear, as each of the two hearing aids is individually tailored to the hearing performance of your respective ear.
4. Let the audiologist or ENT doctor show you how to adjust the hearing systems and use a mirror at the beginning. But you will quickly get a feel for how you can use your hearing aid correctly and efficiently.
Where is left and where is right? It is important not to swap the hearing aids for the left and right, as the left is programmed differently than the right. To make it easier to differentiate between them, hearing aids have coloured markings on the housing or receiver (red = right ear, blue = left ear).
Insert in-the-ear hearing aid (ITE)
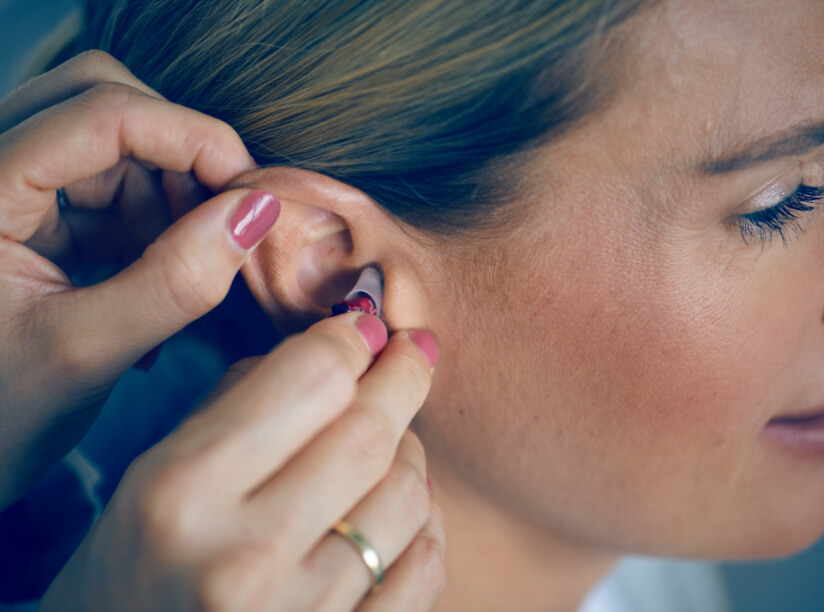
1. Take the hearing aid between your thumb and forefinger.
2. Position the smaller side of the hearing aid in your ear canal.
3. Gently pull on your earlobe and gently push the hearing aid into position.
Hearing aids with earmolds
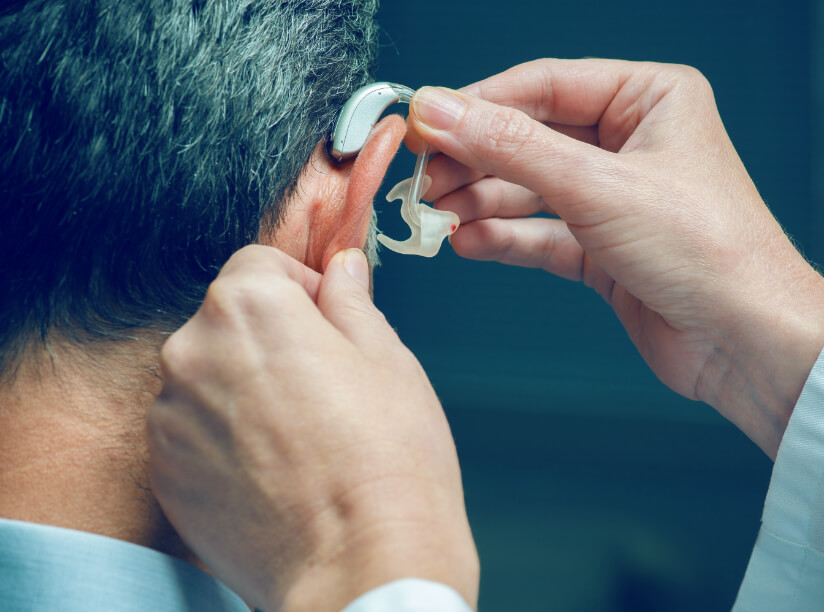
1.Take the back of the ear-tip between your thumb and forefinger.
2. Position it gently in your ear.
3. Carefully push the part that protrudes into the ear canal into position.
4. Adjust the part that belongs in the top corner of the ear (the cymba).
5. With the other hand, pull your earlobe slightly downwards and press the earmold firmly into your ear.
Open fitting hearing aids
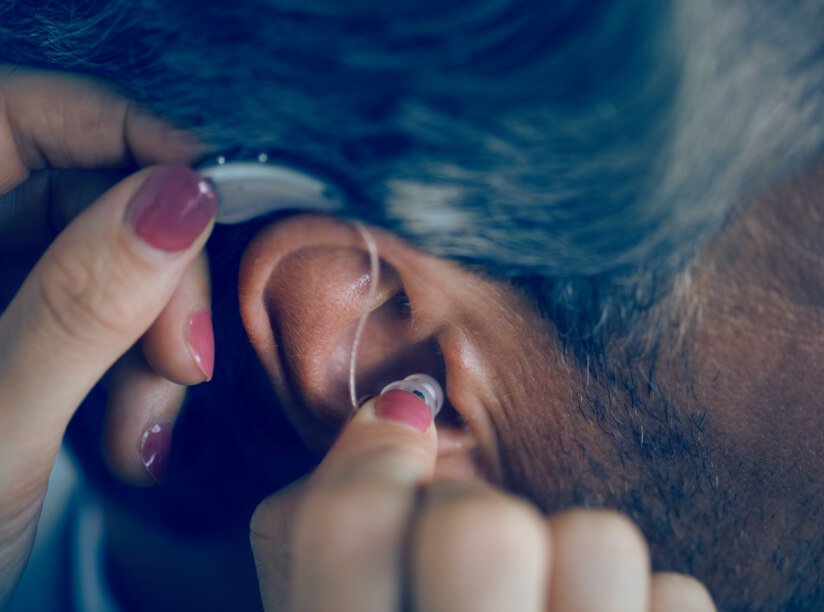
1. Take the hearing aid between your thumb and forefinger and place it behind your ear.
2. With the other hand, guide the sound tube from the back over your ear to the front.
3. Carefully push the shield at the end of the sound tube into your ear canal.
4. Position the plastic support in the auricle so that the umbrella sits firmly in the ear.
How to remove in-the-ear hearing aid (ITE)
Without pull-out thread:
1. Put your thumb behind your earlobe.
2. Gently push your ear upwards with your thumb to slide the hearing aid out of the ear canal. (Tip: Make supportive chewing movements. These movements of the jaw loosen the hearing aid and make it easier for you to push it out).
3. As soon as your hearing aid protrudes sufficiently from the ear canal, you can grab it with the thumb and forefinger of your other hand and remove it.
With pull-out thread:
1. Take the removal thread between your thumb and forefinger.
2. Gently pull the hearing aid up and out of your ear.
How to remove behind-the-ear hearing aid (BTE)
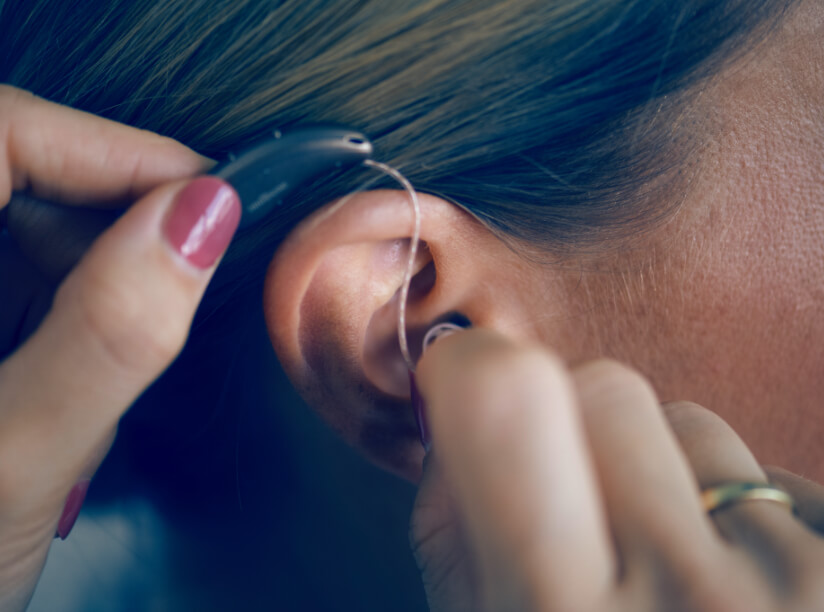
1. Bring the hearing aid forward from behind your ear, in front of your ear.
2. Grasp the ear mold or the umbrella with your thumb and forefinger.
3. Gently pull it out of your ear.
After taking it out in the evening, your hearing aid is ready for daily cleaning. You can find information and tips on how to properly clean and care for hearing aids here.


